Your setup guide
From sign-up
to your first check.
Work through these steps at your own pace. You can return here whenever you need a reminder.
Step 01 / 8
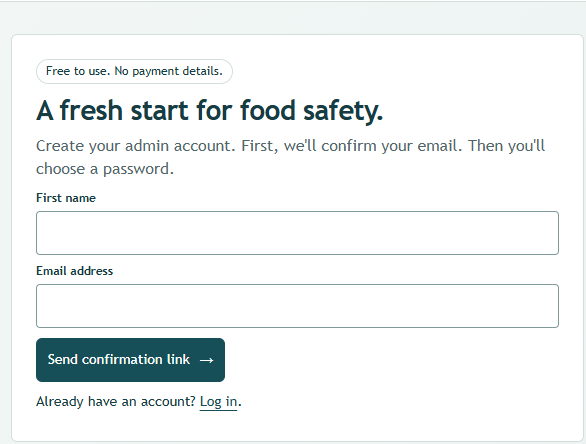
Create your account
Register, confirm your email and choose a password in one simple flow.
- Register. Open Register from the FCP.nz menu. Enter your first name and an email address you can access, then read and accept the terms before sending your request.
- Check your email. Open the FCP.nz email and follow the confirmation link. Check spam or junk if needed. Keep the link private; if it has expired, return to Register for a fresh email.
- Set your password. Use at least 12 characters: a long, unique passphrase or a password generated by your password manager. Do not reuse or share it. Confirm the password and save it securely. You will be signed in and taken to Business details.
Your account password is separate from the shared staff PIN. Forgotten it later? Use Forgot password on the login page.
Step 02 / 8
Add your business details
Tell us whose records this workspace belongs to.
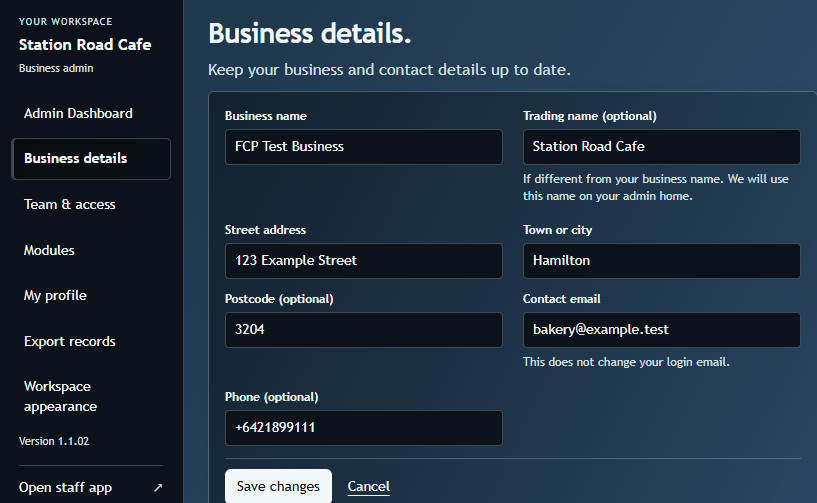
- Enter your business name and, if different, its trading name.
- Add the street address, town or city, and a contact email. Add a phone number and postcode if useful.
- Check the details and save. The contact email does not change the email you use to sign in.
Saving your business details takes you to Modules.
Step 03 / 8
Choose your modules
Start with the records your business actually needs.
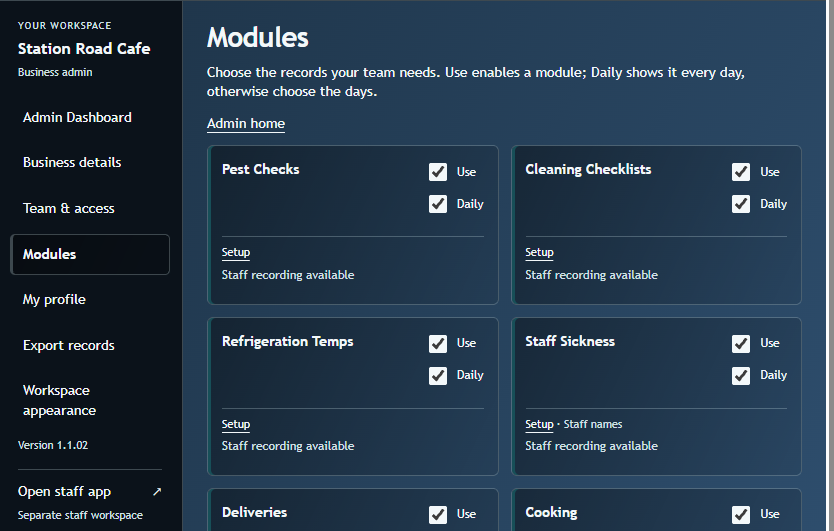
- Tick Use on the modules you want in your workspace.
- Where a day selector is offered, choose Daily or select the days the module should appear. Maintenance tasks have their own weekly or monthly schedules.
- Checkbox changes save automatically. When you have finished choosing, select Save and continue to move on.
You do not need to enable every module. You can change your choices later.
Step 04 / 8
Make the modules fit your kitchen
Use each module's Setup link to prepare its lists.
- Add your fridges and freezers under Refrigeration Temps, and your approved suppliers under Deliveries.
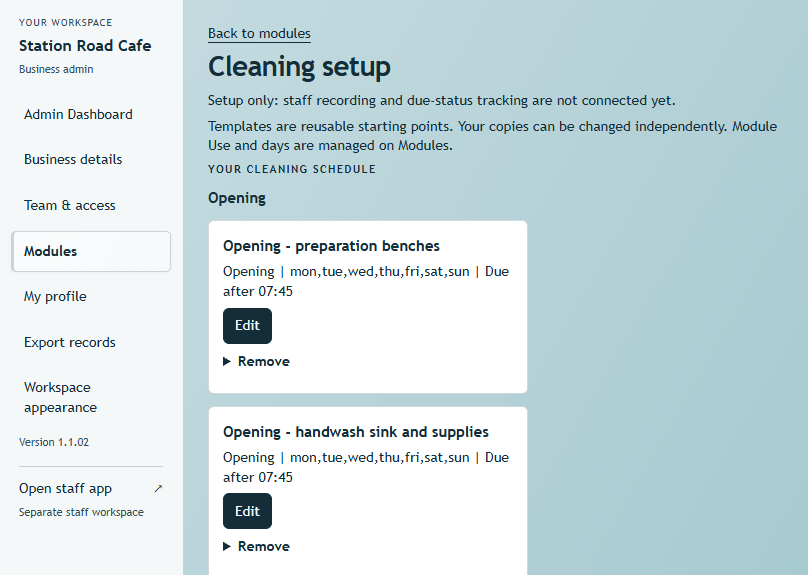
- Review opening, closing and pest checks. Use cleaning and maintenance templates as starting points, then adjust names, steps and schedules.
- Return to Modules when you finish each setup page. Some modules are ready-to-use forms and have no separate Setup page.
Choose checks and settings that match your own food control plan and procedures.
Step 05 / 8
Add your recording names
A recording name is not the same as a login account.
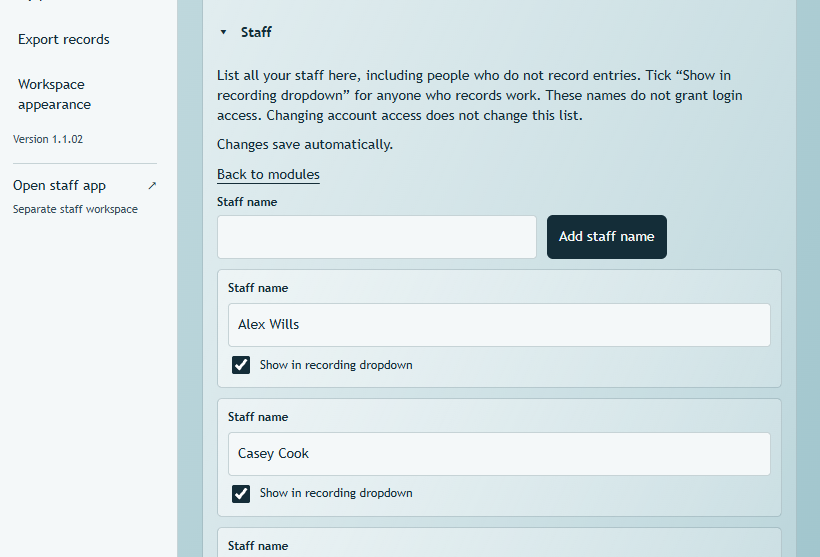
- Open Your team and add the full name of each person who will make records. If you work alone, add yourself.
- Make sure at least one name has Show in recording dropdown checked.
- Adding an enabled recording name completes the guided setup and opens the admin dashboard. You can return to Your team to add more names.
Staff who only select their name on the shared device do not need their own email login.
Step 06 / 8
Prepare the shared staff workspace
One kitchen tablet can be used by the team throughout the day.
- In Your team, open Shared workspace PIN and set and confirm a six-digit PIN.
- On the kitchen device, open Staff login and sign in with an authorised account to open the workspace.
- The shared PIN is used to reopen a workspace after it has been closed. It does not replace the first email-and-password login. Share the PIN privately.
- If staff can access this device, return to the admin tab and click Log out when finished. The staff app stays signed in. Simply closing the admin tab does not log you out.
Always log out of admin on shared devices before handing them to staff.
Step 07 / 8
Make your first record
Pick a name, open a module, and record what actually happened.
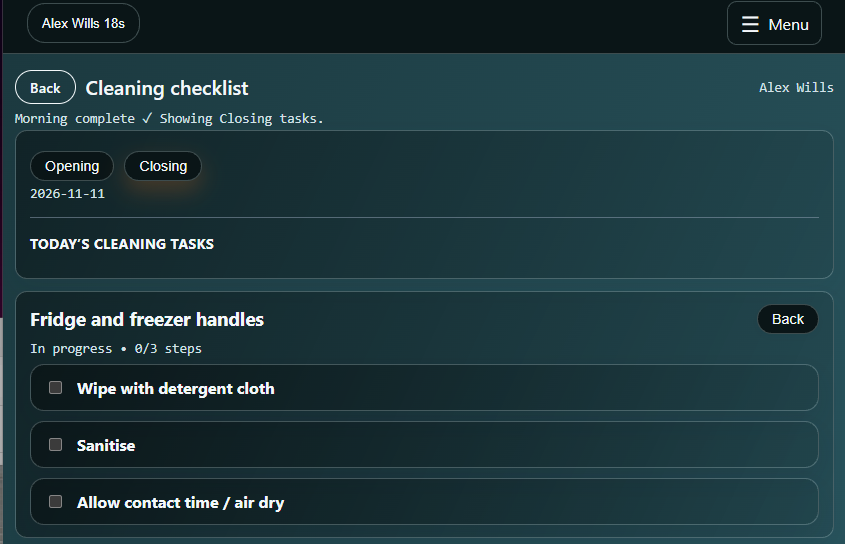
- Select your recording name, then open a module such as Refrigeration Temps or Opening Checks.
- Complete the checks or readings shown and save where prompted. Record issues and the actions taken when needed.
- The selected name expires after inactivity. Select a name again when prompted so each entry is attributed to the right person. Staff can correct today's entries.
Try a real check with your team before relying on the workspace for a busy shift.
Step 08 / 8
Review the day and keep copies
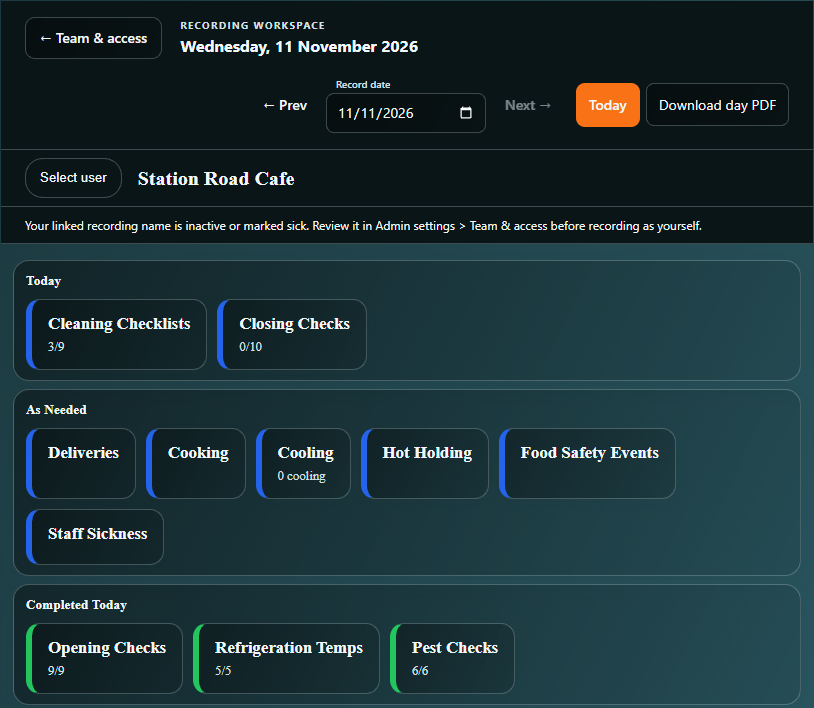
The admin dashboard is your regular landing page once setup is complete.
- Review completed tasks and anything still needing attention. As-needed modules do not require an entry when no event occurred.
- Use the date controls to review earlier days. Admins can add or correct historical records; the staff workspace is for today.
- Use Export records for a PDF covering up to 31 days or an Excel file covering up to 12 months. Keep copies somewhere your business controls.
FCP.nz stores your records. It does not replace your food control plan or your responsibility to carry out the checks.